This post may contain affiliate links. Read my full disclosure policy here.
![Make fruit snacks that are actually good for you with this easy homemade recipe. Uses all-natural ingredients!]()
![]()
Any time I get a chance to experiment in the kitchen with homemade pantry staples, I take it. Honestly, there's nothing that excites me more than taking a store-bought item and turning it into a made-from-scratch masterpiece. A domestic instinct, perhaps?
Lately, my new obsession has been with this DIY Pantry Cookbook by Kresha of Nourishing Joy, and although I'm not a real foodie, I do strive to be healthy {most of the time, anyway} and love when I can keep all those nasty preservatives out of our food. Kresha has a ton of fabulous recipes that don't use a lot of sugar, and are super good for you. Plus, they meet my overwhelming need to make my own everything. Win-win!
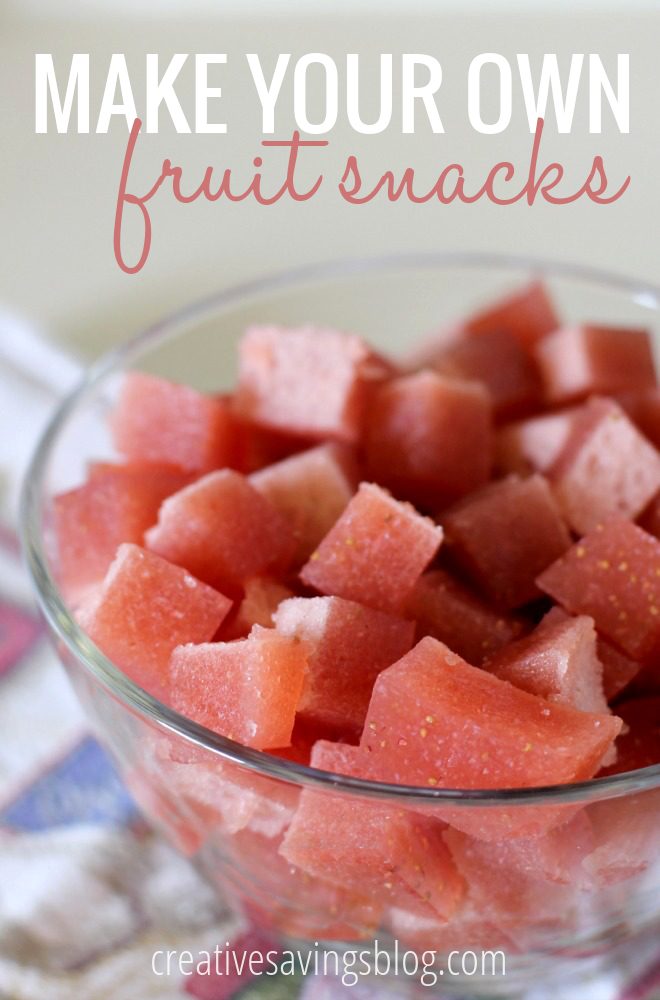
Since Joseph is completely enamored with fruits snacks {seriously, you would think he was 5}, I was elated to find a recipe in there to make our own. The result? Not bad! My husband can't stay out of them, and it makes me feel better that he isn't eating waxy fruit-shaped candies anymore.
You will definitely want to try making these yourself as they are the perfect snack for little hands, and you totally feel good about feeding them to your kids!
How to Make Your Own Fruit Snacks
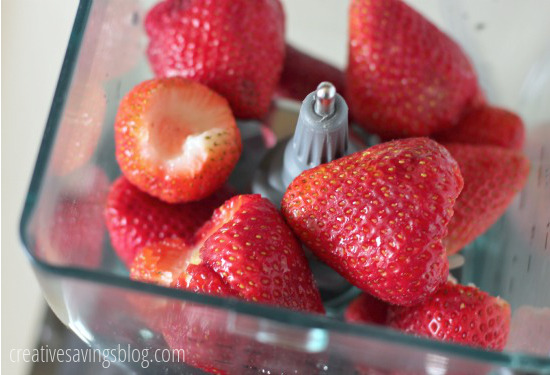
Step 1: Choose any fruit you'd like {I chose strawberries}, place in a blender, and puree until smooth. Make sure the puree equals 1 cup. You may have to take some of the puree out and set aside.
![Make Your Own Fruit Snacks | Creative Savings]()
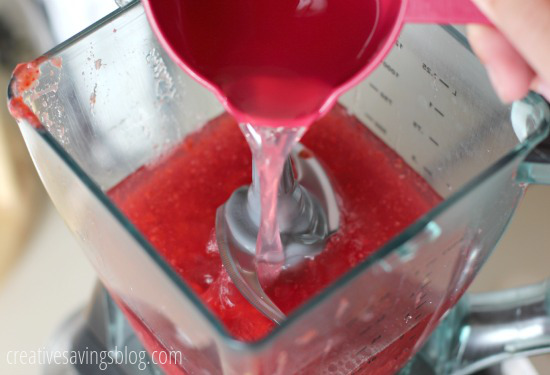
Step 2: Add a strong complementary fruit juice and light colored honey to the blender and puree again until smooth. Then, pour mixture into a large bowl and set aside.
![Make Your Own Fruit Snacks | Creative Savings]()
Step 3: Fill a saucepan with 1 cup cold water and stir in the gelatin until combined. Place over medium-low heat and heat the mixture until the gelatin is dissolved, stirring occasionally (about 3 to 4 minutes).
![Make Your Own Fruit Snacks | Creative Savings]()
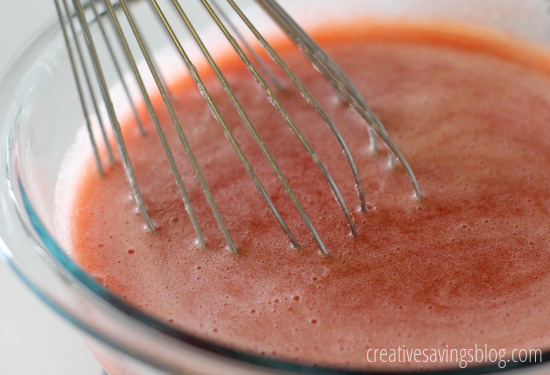
Step 4: Pour the dissolved gelatin into the fruit mixture and whisk well to combine, then quickly pour the mixture into an ungreased 9″ x 9″ cake pan or into candy molds and allow to cool in the refrigerator uncovered for 2 to 3 hours. If you decide to use candy molds, work really fast as the mixture will set fairly quickly!
![Make Your Own Fruit Snacks | Creative Savings]()
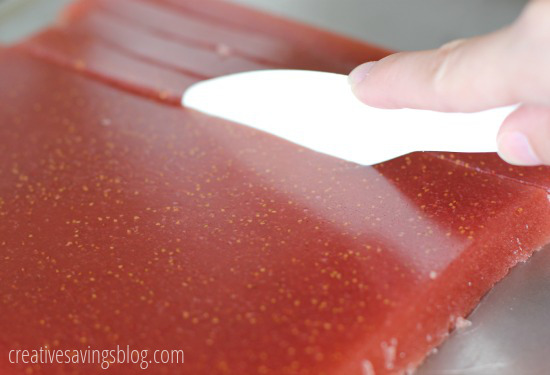
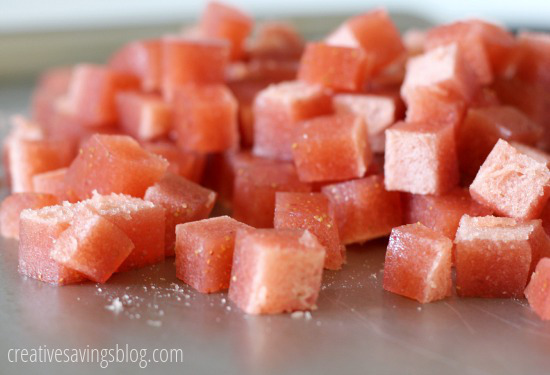
Step 5: Once the mixture is completely set, remove it carefully from the molds or cake pan. If you used a pan, cut them into squares with a knife or spatula. You should be able to get 12-13 horizontal strips and then cut each strip into 12 pieces.
![Make Your Own Fruit Snacks | Creative Savings]()
Step 6: Store in an airtight container at room temperature for 2 to 3 days, or in the refrigerator for 1 to 2 weeks. I like to package mine into snack bags so I can quickly throw them into lunches!
![Make Your Own Fruit Snacks | Creative Savings]()
Print
Ingredients
- 1 cup pureed fruit
- 1 cup strongly flavored fruit juice
- 1/4 cup honey (the lighter the color the better. Dark honey is stronger and less sweet)
- 1 cup cold water
- 1/3 cup unflavored gelatin (about 8 packets)
Instructions
- Place fruit in a blender and puree until smooth. Make sure the puree is 1 cup.
- Add the fruit juice and honey to the blender and puree again until smooth.
- Pour mixture into a large bowl and set aside.
- Fill a saucepan with 1 cup cold water and stir in the gelatin until combined. The mixture will be very thick and will want to congeal.
- Place over medium-low heat and heat the mixture until the gelatin is dissolved, stirring occasionally (about 3 to 4 minutes).
- Pour the dissolved gelatin into the fruit mixture and whisk well to combine. Quickly pour the mixture into an ungreased 9″ x 9″ cake pan or into candy molds and allow to cool in the refrigerator uncovered for 2 to 3 hours. If using candy molds, you must work extremely fast or the mixture will set before you can pour it all.
- Once the mixture is completely set remove it carefully from the molds or cake pan. If you used the cake pan, cut them into squares by cutting 12 horizontal strips and then each strip into 12 pieces.
- Store in an airtight container at room temperature for 2 to 3 days, or in the refrigerator for 1 to 2 weeks.
Total Cost: $5.38/batch or $.74/serving {20 fruit snacks}
![Are homemade fruit snacks cheaper than store-bought? You might be surprised at who wins this one!]()
Because there is so much gelatin in this recipe, homemade fruit snacks are actually just a little bit more expensive to make over brand name. However, I can knock down the cost down a lot just by purchasing unflavored gelatin in bulk rather than the store, which makes the comparison pretty much a wash.
Even though I wouldn't go exclusively homemade in the fruit snack department, this was still a fun recipe to try and fairly easy to put together. I am definitely looking forward to experimenting with different flavors in the future!
What homemade snacks do you love to make?
![Learn how to make pantry staples from scratch and get rid of processed foods for good!]() The DIY Pantry features over 100 homemade recipes and is the perfect complement to your cookbook collection. Learn how to make pantry staples from scratch and get rid of processed foods for good!
The DIY Pantry features over 100 homemade recipes and is the perfect complement to your cookbook collection. Learn how to make pantry staples from scratch and get rid of processed foods for good!
From graham crackers to homemade pasta, you can stock your pantry with ingredients you feel good about. And the best part? Each recipe can be completed in 30 minutes or less!
Buy the Book
Disclosure: Some of the links in the post above are affiliate links. This means if you click on the link and purchase the item, I will receive an affiliate commission. Regardless, I only recommend products or services I use personally and believe will add value to my readers. Read my full disclosure policy here.
I received this book free from Adams Media. The opinions I have expressed are my own.
The post Make Your Own Fruit Snacks appeared first on Kalyn Brooke.


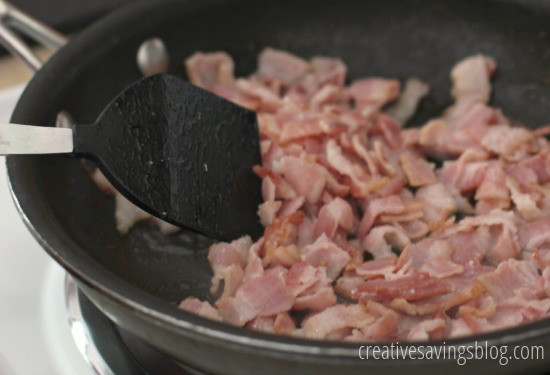
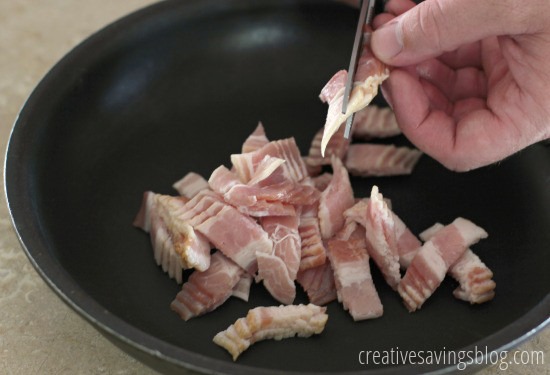 Step 2: Set frying pan on Medium High heat and stir occasionally until bacon is done. The timing will be different depending on how much bacon you put into the pan, so keep a close eye on it!